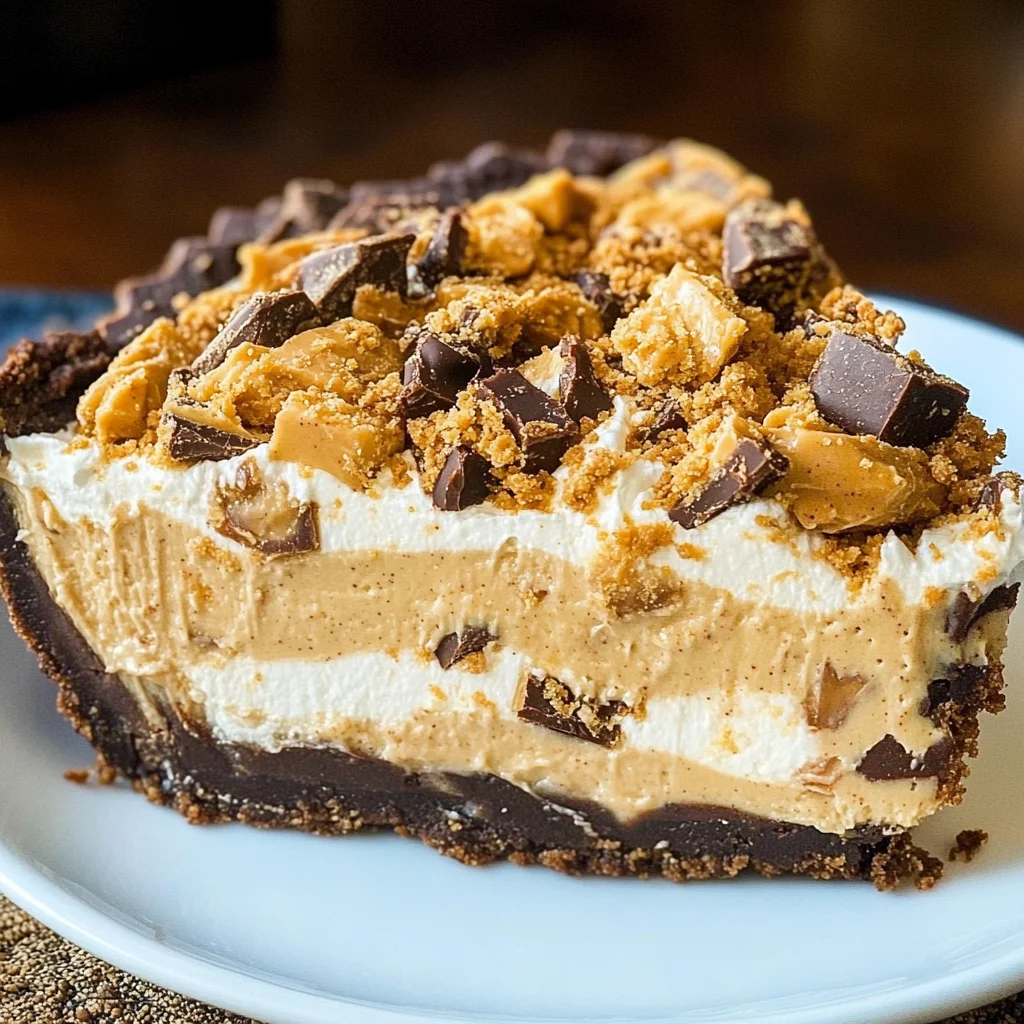
Butterfinger Pie
If you’re looking for a dessert that’ll impress everyone without breaking a sweat, then let me introduce you to my beloved Butterfinger Pie! This cool and creamy delight is perfect for any occasion, whether it’s a busy weeknight or a family gathering. It’s so easy to whip up, and the combination of chocolate and peanut butter is simply irresistible. Trust me, this pie is bound to become a staple in your dessert rotation!
What makes this Butterfinger Pie extra special is its no-bake nature. With just a handful of simple ingredients, you can create a show-stopping treat that tastes like it came from a high-end bakery. Plus, it’s fun to make with the kids—who doesn’t love crushing those Butterfinger bars?
Why You’ll Love This Recipe
- Super Simple: With just 15 minutes of prep time, you can have this delicious pie ready to chill!
- Family Favorite: The rich flavors of chocolate and peanut butter are a hit with kids and adults alike.
- Make Ahead: This recipe is perfect for planning ahead; just pop it in the fridge until it’s time to serve.
- No Baking Required: No oven? No problem! This pie sets beautifully in the refrigerator.
- Decadent Flavor: The combination of creamy filling and crunchy Butterfingers creates an unforgettable taste experience.
Ingredients You’ll Need
To make this delightful Butterfinger Pie, you only need a few simple, wholesome ingredients. They come together to create an indulgent dessert that everyone will love.
For the Filling
- 1 (8-ounce) package cream cheese (room temperature)
- 1/2 cup creamy peanut butter
- 2 teaspoons vanilla extract
- 1 1/2 cups powdered sugar
- 1 (12.5-ounce) bag fun-sized butterfinger bars (crushed; reserve 2 bars to sprinkle on top)
- 1 (8-ounce) container Cool Whip (thawed)
For the Crust
- 1 store-bought oreo or chocolate graham cracker crust
Variations
This Butterfinger Pie is wonderfully flexible! You can easily customize it based on your preferences or what you have on hand.
- Add Some Crunch: Mix in chopped nuts or pretzel pieces for an extra layer of texture.
- Switch Up the Toppings: Top with crushed cookies, chocolate shavings, or even some whipped cream for added flair.
- Go Dairy-Free: Substitute cream cheese with vegan cream cheese and use coconut whipped topping for a dairy-free version.
- Change the Candy: Try swapping Butterfingers for your favorite candy bar like Reese’s or Snickers.
How to Make Butterfinger Pie
Step 1: Cream Together
Start by placing the cream cheese and peanut butter into a large mixing bowl. Add in those lovely 2 teaspoons of vanilla extract. Use an electric mixer to beat these ingredients together until they are smooth and well-combined. This step is crucial because blending them well ensures each bite will be creamy and flavorful.
Step 2: Sweeten It Up
Next, gradually beat in the powdered sugar. This will add sweetness while also helping create that luscious filling texture. Make sure everything is blended perfectly so there are no lumps—smoothness is key!
Step 3: Add Some Crunch
Now it’s time to fold in all those deliciously crushed fun-sized Butterfinger bars. Gently mix them into the filling; this will give your pie that delightful crunch we all love.
Step 4: Lighten It Up
Carefully fold in the thawed Cool Whip. This ingredient adds lightness and airiness to your pie, making each slice feel luxurious. Take your time here; you want to keep that fluffy texture intact!
Step 5: Fill the Crust
Spread your creamy filling into the store-bought oreo or chocolate graham cracker crust. Make sure it’s evenly distributed so every slice has that perfect balance of filling and crust.
Step 6: Chill Out
Finally, sprinkle those reserved crushed Butterfingers on top for some added flair. Now, pop your pie into the refrigerator and let it chill for at least 4 hours before serving. This step is essential; it allows all those wonderful flavors to meld together beautifully.
And there you have it! Enjoy your sweet creation with family and friends—you deserve every bite of this amazing Butterfinger Pie!
Pro Tips for Making Butterfinger Pie
Creating the perfect Butterfinger Pie is a breeze, especially with these helpful tips!
-
Use room temperature ingredients: Ensuring that your cream cheese is at room temperature helps it blend smoothly with the peanut butter, preventing any lumps in your delicious filling.
-
Crush Butterfinger bars efficiently: Place the fun-sized bars in a zip-top bag and crush them with a rolling pin. This method keeps the mess contained and gives you the perfect texture for mixing into your pie.
-
Don’t skip the chilling time: Refrigerating the pie for at least 4 hours allows it to set properly, making each slice cleaner and giving the flavors time to meld together beautifully.
-
Customize with toppings: Feel free to add whipped cream, chocolate syrup, or even chopped nuts on top before serving for an extra layer of flavor and texture!
-
Store leftovers properly: If you have any pie left, cover it tightly with plastic wrap and keep it in the refrigerator. It stays fresh and tasty for up to 3 days!
How to Serve Butterfinger Pie
Presenting your Butterfinger Pie can be just as delightful as making it! With a few thoughtful additions and pairings, you can elevate this dessert experience.
Garnishes
-
Whipped Cream: A dollop of whipped cream on each slice adds a creamy contrast and makes for an eye-catching presentation.
-
Chocolate Shavings: Grate some chocolate over the top of your pie for a decorative touch that enhances its chocolatey goodness.
Side Dishes
-
Fresh Fruit Salad: A light fruit salad made with berries, melons, and citrus can provide a refreshing balance to the rich flavors of Butterfinger Pie.
-
Vanilla Ice Cream: Serving a scoop of vanilla ice cream alongside your pie creates a classic pairing that complements its creamy texture.
-
Chocolate Chip Cookies: A plate of warm chocolate chip cookies can make for a fun dessert duo that appeals to both kids and adults alike!
By incorporating these serving suggestions, you’ll create not just a dessert but an enjoyable experience that everyone will remember. Happy baking!
Make Ahead and Storage
One of the best things about this Butterfinger Pie is how well it lends itself to meal prep! You can easily whip it up ahead of time, making it a perfect dessert for gatherings or just a sweet treat to enjoy at home.
Storing Leftovers
- Keep any leftover pie in an airtight container in the refrigerator.
- It’s best enjoyed within 3-4 days for optimal freshness.
- If you need to cover the pie, use plastic wrap or foil to prevent it from drying out.
Freezing
- You can freeze Butterfinger Pie, but it’s best to do so before adding the toppings.
- Wrap the pie tightly in plastic wrap and then in aluminum foil for extra protection.
- To serve, thaw in the refrigerator overnight before enjoying.
Reheating
- This pie is served cold, so there’s no need to reheat it.
- Just slice and serve straight from the fridge for that refreshing taste!
FAQs
Here are some frequently asked questions about Butterfinger Pie:
Can I make Butterfinger Pie without cream cheese?
Absolutely! You can use a non-dairy cream cheese alternative or whipped topping to create a similar texture and flavor profile.
How long does Butterfinger Pie last in the fridge?
Butterfinger Pie can last up to 3-4 days when stored properly in an airtight container in the refrigerator. Enjoy it while it’s fresh!
What can I use instead of Cool Whip in Butterfinger Pie?
If you’re looking for alternatives, you can use homemade whipped cream or a dairy-free whipped topping. Both options work wonderfully!
Can I add other toppings to my Butterfinger Pie?
Definitely! Feel free to get creative with toppings like chocolate syrup, crushed nuts, or additional candy pieces for extra flair.
Final Thoughts
This Butterfinger Pie is more than just a dessert; it’s a delightful treat that brings smiles and joy whether you’re celebrating a special occasion or simply indulging yourself on a quiet evening. I hope you enjoy making this easy no-bake recipe as much as I do! Don’t hesitate to share your experience or any twists you put on it. Happy baking!
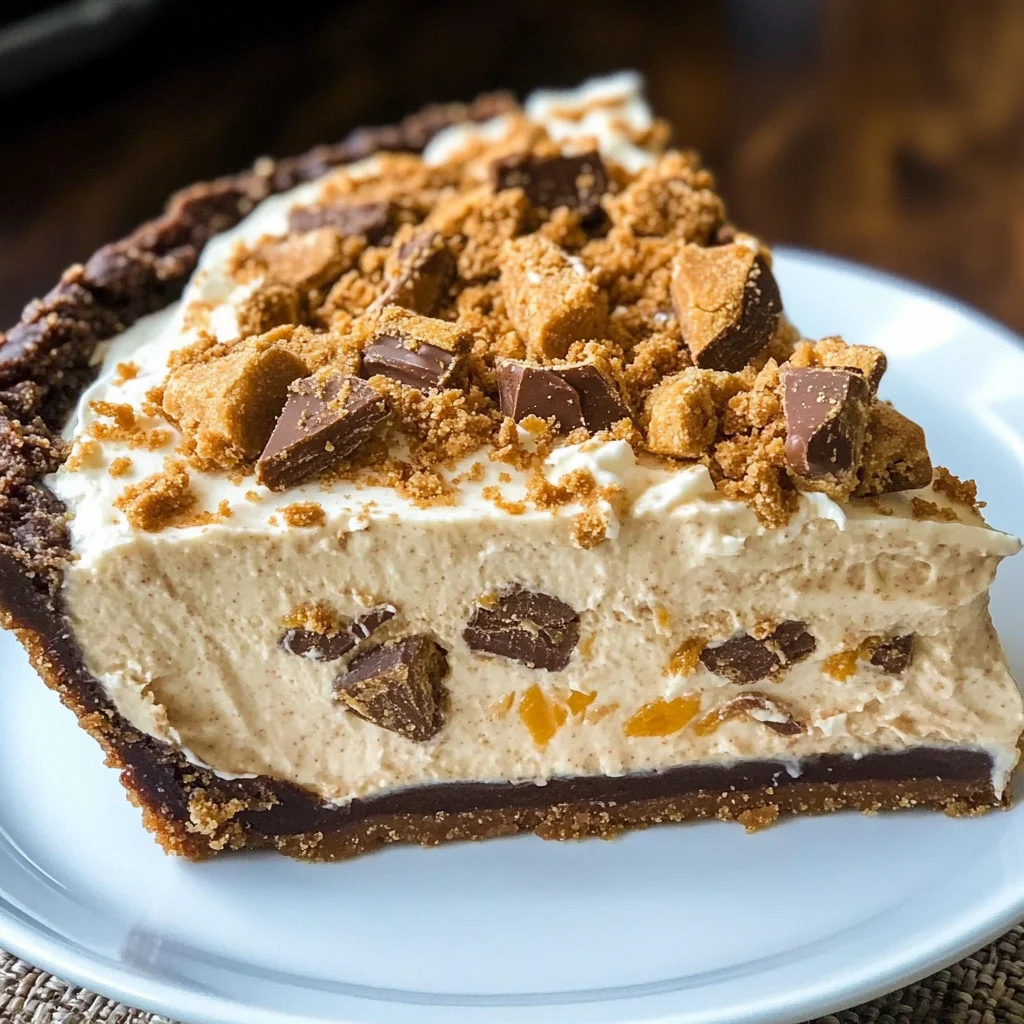
Butterfinger Pie
Experience the delightful combination of chocolate and peanut butter with this easy-to-make Butterfinger Pie. Perfect for any gathering or a sweet treat at home, this no-bake dessert is a crowd-pleaser that requires minimal effort. With its creamy filling and crunchy Butterfinger pieces, each slice offers an indulgent taste experience that everyone will love. Not only is it fun to prepare (especially with kids), but it also allows you to prepare ahead of time, making it a stress-free addition to your dessert lineup. Chill it for a few hours, and you’ll have a sensational treat ready to impress!
- Prep Time: 15 minutes
- Cook Time: None
- Total Time: 0 hours
- Yield: Approximately 8 servings 1x
- Category: Dessert
- Method: No-Bake
- Cuisine: American
Ingredients
- 1 (8-ounce) package cream cheese (room temperature)
- 1/2 cup creamy peanut butter
- 2 teaspoons vanilla extract
- 1 1/2 cups powdered sugar
- 1 (12.5-ounce) bag fun-sized Butterfinger bars (crushed; reserve 2 bars for topping)
- 1 (8-ounce) container whipped topping (thawed)
- 1 store-bought chocolate graham cracker crust
Instructions
- In a large mixing bowl, beat together cream cheese and peanut butter with vanilla extract until smooth.
- Gradually add powdered sugar, mixing until fully incorporated and lump-free.
- Gently fold in crushed Butterfinger bars until evenly distributed.
- Carefully mix in the thawed whipped topping until light and fluffy.
- Pour the filling into the chocolate graham cracker crust, spreading evenly.
- Sprinkle reserved crushed Butterfingers on top and refrigerate for at least 4 hours before serving.
Nutrition
- Serving Size: 1 slice (approximately 100g)
- Calories: 320
- Sugar: 25g
- Sodium: 210mg
- Fat: 20g
- Saturated Fat: 8g
- Unsaturated Fat: 10g
- Trans Fat: 0g
- Carbohydrates: 30g
- Fiber: 2g
- Protein: 4g
- Cholesterol: 30mg