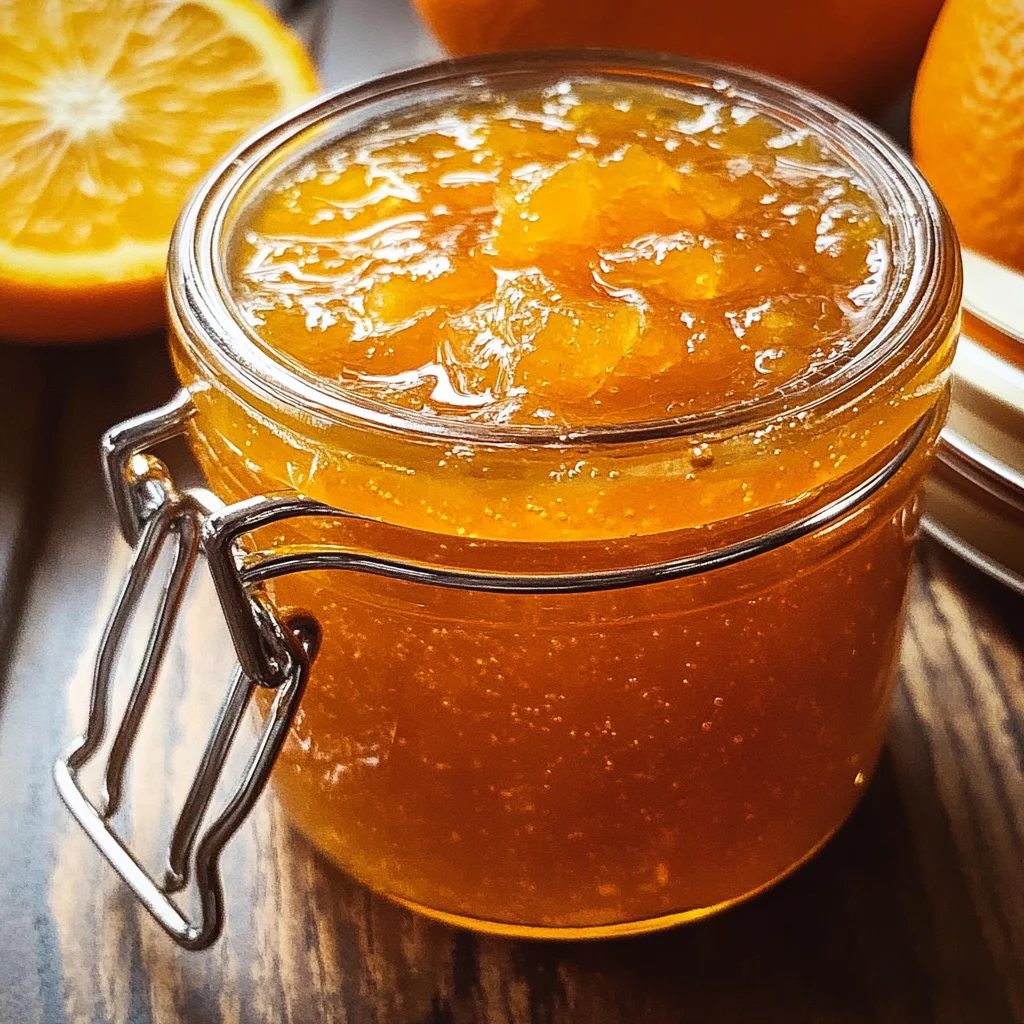
Orange Jam
If you’re looking for a delightful way to brighten up your breakfast table or add a zesty touch to your desserts, this Orange Jam is just the thing! This recipe holds a special place in my heart because it captures the vibrant essence of fresh oranges while adding a hint of warmth from spices. The process is simple, making it perfect for busy weeknights or family gatherings where you want to impress without a lot of fuss.
You’ll find that this jam not only tastes amazing slathered on toast but also brings sunshine to yogurt or ice cream. Plus, it makes a thoughtful homemade gift that’s sure to bring smiles. Let’s dive into the joy of making your own Orange Jam!
Why You’ll Love This Recipe
- Easy to Make: With just a few simple steps, you’ll have delicious jam ready in no time!
- Family-Friendly: Everyone loves the bright, sweet flavor of oranges, making this jam a hit with both kids and adults.
- Make-Ahead Convenience: Prepare a big batch and store it for later use—perfect for meal prep!
- Versatile Use: Enjoy it on toast, pancakes, or as an ingredient in your favorite desserts.
- Natural Ingredients: You know exactly what goes into your jam—no preservatives here!
Ingredients You’ll Need
For this Orange Jam, you’ll need some simple and wholesome ingredients that come together beautifully. Here’s what to gather:
For the Jam
- 3 lbs oranges (peeled, roughly 5 cups puree)
- 1 cup sugar
- 1-2 each cinnamon sticks (star anise & cloves, optional)
Variations
One of the best things about this Orange Jam is how flexible it can be! Feel free to get creative with these fun variations:
- Add Some Zing: Incorporate some finely grated lemon or lime zest for an extra citrus kick.
- Spice It Up: Swap out cinnamon sticks for ginger slices for a warm, spicy twist.
- Mix in Fruits: Combine with other fruits like berries or apples for unique flavor profiles.
- Experiment with Sweetness: Adjust the sugar level according to your taste preferences; honey works great too!
How to Make Orange Jam
Step 1: Prepare the Oranges
Start by peeling the oranges and removing as much of the white pith as possible. This step is important because too much pith can make your jam taste bitter. Once peeled, you should have about 5 cups of orange segments ready for pureeing.
Step 2: Puree the Oranges
Using an immersion blender or a regular blender, puree the peeled oranges until smooth. This will create the base of your jam. If you prefer some texture, feel free to leave small chunks in there!
Step 3: Combine Ingredients
In a saucepan, combine the orange puree with sugar and any spices you’re using. Stir everything together well to ensure that the sugar starts dissolving evenly. The spices will add warmth and depth to your jam.
Step 4: Simmer Until Thickened
Now it’s time to simmer! Place your saucepan over moderate heat and let it cook until thickened—about 20-30 minutes. To test if it’s ready, spoon some onto a plate that you’ve kept in the freezer and let it sit for a moment before checking its consistency.
Step 5: Jar It Up
Once you’re satisfied with the thickness of your Orange Jam, pour it into prepared canning jars. If you’re not planning to eat it all right away, process them in a water bath canner for 10 minutes to preserve them longer. That’s it—you’ve made delicious Orange Jam!
Enjoy spreading this lovely jam on your favorite breakfast items or using it in creative desserts!
Pro Tips for Making Orange Jam
Making orange jam can be a delightful and rewarding experience, especially when you have a few helpful tips in your back pocket!
-
Use fresh oranges: Fresh, ripe oranges yield the best flavor and sweetness. Look for oranges that are firm and heavy for their size, indicating juiciness.
-
Adjust sugar to taste: Depending on the natural sweetness of your oranges, feel free to adjust the sugar. This will help you achieve the perfect balance of tartness and sweetness.
-
Don’t skip the pith removal: Removing as much white pith as possible not only improves the taste but also prevents your jam from becoming bitter.
-
Test for consistency: To ensure your jam thickens properly, always test it on a cold plate. If it holds its shape after cooling, you’re good to go!
-
Store properly: For longer shelf life, process your jars in a water bath canner. This method keeps your jam safe while also enhancing its flavors over time.
How to Serve Orange Jam
Orange jam is not just delicious on its own; it can be a versatile addition to many dishes. Here are some fun ideas to serve and enjoy this sunny spread!
Garnishes
-
Chopped nuts: Sprinkling chopped nuts, like almonds or pistachios, adds a satisfying crunch and nutty flavor that complements the sweetness of the jam.
-
Fresh mint leaves: A few sprigs of fresh mint can brighten up your presentation and add a refreshing herbal note that contrasts beautifully with the citrus.
Side Dishes
-
Toast or bagels: Spread orange jam over warm toast or bagels for a delightful breakfast treat that brings sunshine to your morning routine.
-
Yogurt or oatmeal: Swirl orange jam into creamy yogurt or hearty oatmeal for a burst of flavor that elevates these wholesome breakfasts.
-
Cheese platter: Pair orange jam with soft cheeses like goat cheese or ricotta on a charcuterie board. The sweet and tangy flavor creates a wonderful contrast with creamy textures.
-
Pancakes or waffles: Drizzle warm orange jam over pancakes or waffles instead of syrup for a zesty twist that adds vibrant color and flavor to your brunch spread.
By following these tips and serving suggestions, you’ll be able to enjoy your homemade orange jam in countless delicious ways! Happy jamming!
Make Ahead and Storage
This orange jam recipe is perfect for meal prep, allowing you to enjoy the bright flavors of citrus throughout the week or even longer. It can be made in batches and stored for future use, making it a delightful addition to breakfasts, snacks, or desserts.
Storing Leftovers
- Store the orange jam in sterilized canning jars.
- Keep it in the refrigerator for up to 3 weeks.
- Ensure the lid is tightly sealed to maintain freshness.
Freezing
- For long-term storage, freeze the orange jam in airtight containers.
- Leave a little space at the top of each container to allow for expansion as it freezes.
- The jam can be frozen for up to 6 months.
Reheating
- If using frozen jam, thaw it overnight in the refrigerator before reheating.
- Gently warm on the stove over low heat until it reaches your desired consistency.
- Stir occasionally to prevent sticking and ensure even heating.
FAQs
Here are some common questions about making orange jam that might help you out!
How can I make Orange Jam without added sugar?
You can substitute sugar with natural sweeteners like honey or maple syrup. Adjust the amount based on your taste preferences.
What is the shelf life of homemade Orange Jam?
Homemade orange jam stored in the refrigerator lasts about 3 weeks, while frozen jam can be kept for up to 6 months without losing flavor.
Can I add other fruits to my Orange Jam?
Absolutely! You can mix in berries or apples for a unique twist on traditional orange jam. Just remember to adjust the sweetness accordingly.
How do I know when my Orange Jam is thick enough?
Test its consistency by placing a spoonful on a cold plate from the freezer. If it holds its shape after cooling for a minute, your jam is ready!
Final Thoughts
I hope you find joy in making this sunny orange jam! It’s not just a treat; it’s a way to brighten your mornings and share something special with loved ones. Remember, every jar captures a bit of sunshine—perfect for spreading on toast or dolloping onto desserts. Enjoy this delightful recipe, and feel free to experiment with your own twists. Happy jamming!
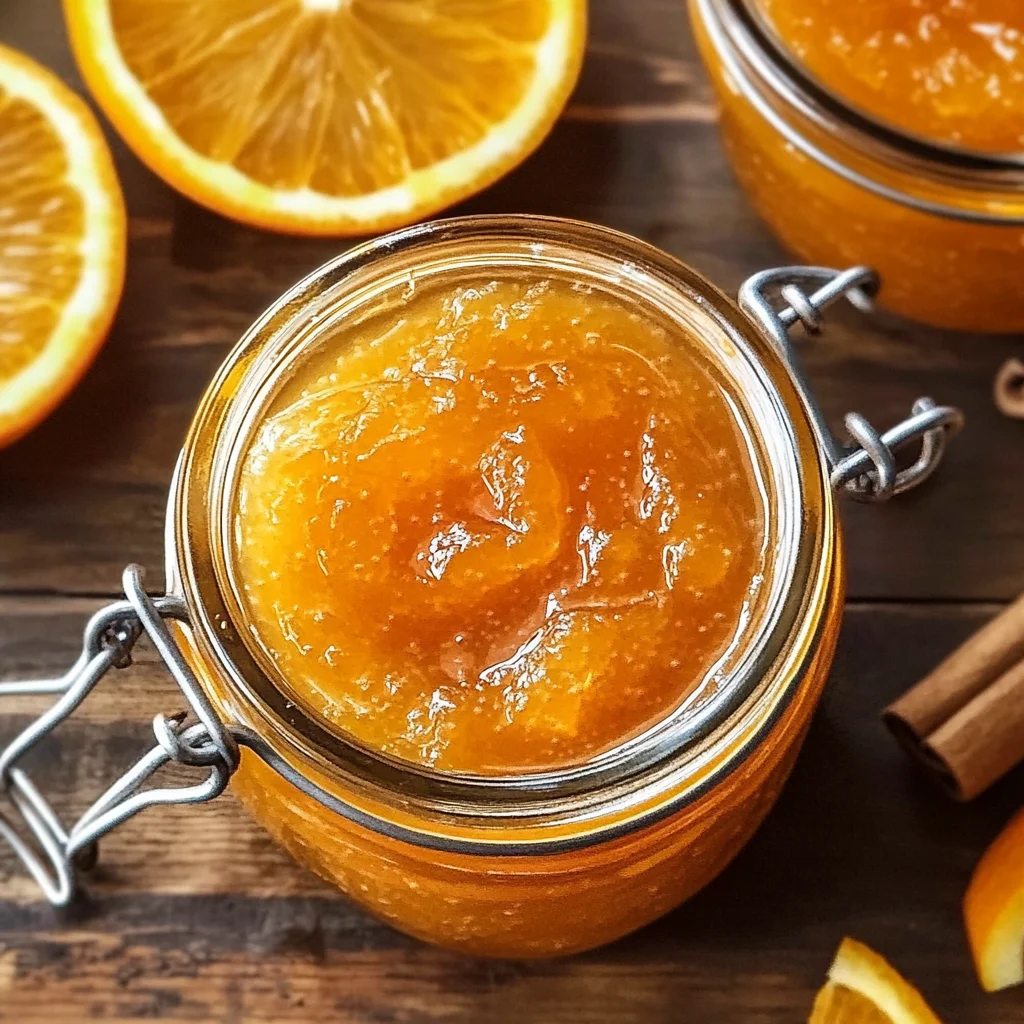
Orange Jam

Brighten your breakfast table or add a zesty note to your desserts with homemade Orange Jam! This delightful recipe captures the vibrant essence of fresh oranges while incorporating a hint of warmth from spices. Easy to make and perfect for busy weeknights or family gatherings, this jam is delicious on toast, pancakes, or as a creative ingredient in desserts. It’s also a thoughtful homemade gift that’s sure to bring smiles! Enjoy the process of making your own Orange Jam and savor the freshness it brings to your meals.
- Prep Time: 15 minutes
- Cook Time: 30 minutes
- Total Time: 45 minutes
- Yield: About 16 servings 1x
- Category: Dessert
- Method: Canning
- Cuisine: American
Ingredients
- 3 lbs fresh oranges (peeled, roughly 5 cups puree)
- 1 cup sugar
- 1–2 cinnamon sticks (optional: star anise & cloves)
Instructions
- Prepare the Oranges: Peel oranges and remove as much of the white pith as possible. You should have about 5 cups of orange segments for pureeing.
- Puree the Oranges: Use an immersion blender or regular blender to puree the peeled oranges until smooth. Leave small chunks if you prefer some texture.
- Combine Ingredients: In a saucepan, mix orange puree, sugar, and any spices you're using. Stir until sugar begins dissolving.
- Simmer Until Thickened: Cook over moderate heat for about 20-30 minutes until thickened. Test consistency by spooning some onto a cold plate.
- Jar It Up: Pour into sterilized canning jars. Process in a water bath canner for 10 minutes if not consuming right away.
Nutrition
- Serving Size: 2 tablespoons (30g)
- Calories: 50
- Sugar: 12g
- Sodium: 0mg
- Fat: 0g
- Saturated Fat: 0g
- Unsaturated Fat: 0g
- Trans Fat: 0g
- Carbohydrates: 13g
- Fiber: 0g
- Protein: 0g
- Cholesterol: 0mg