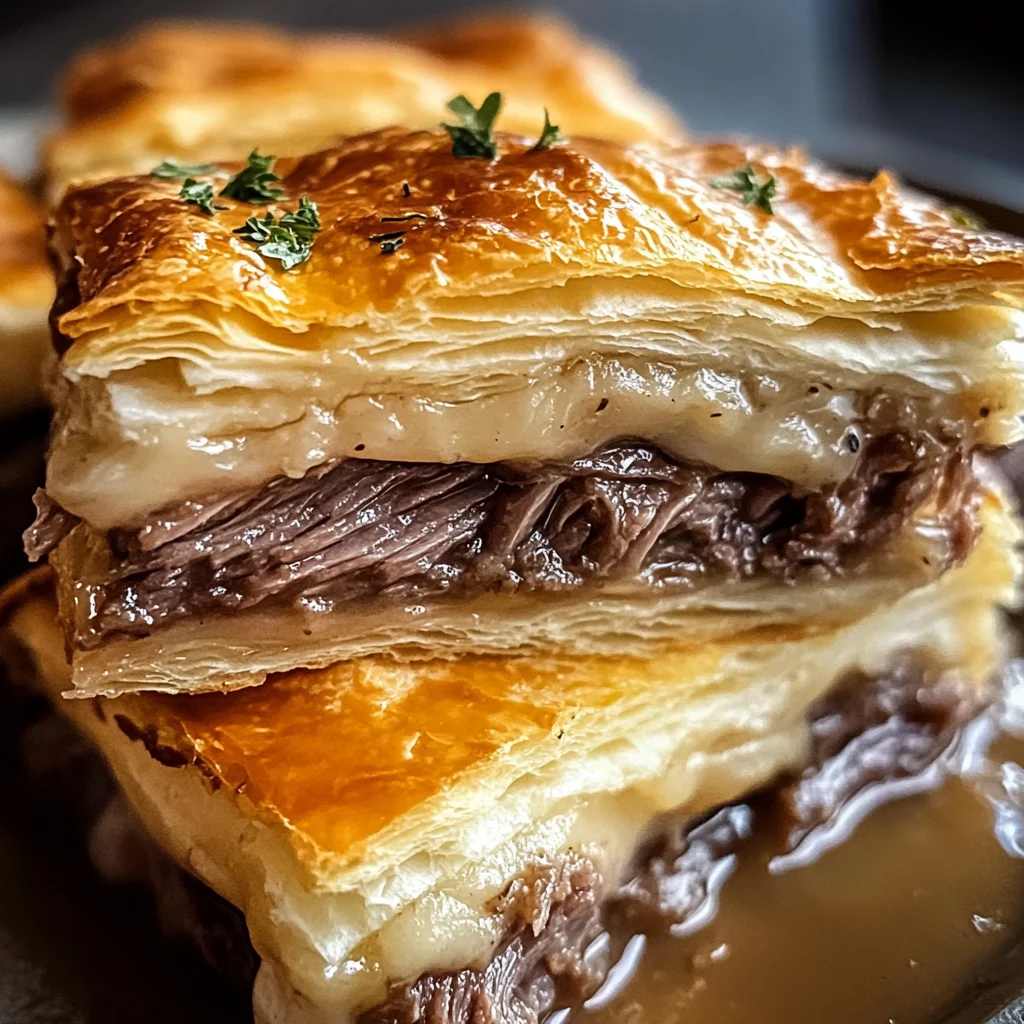
French Dip Squares
If you’re looking for a dish that brings comfort and joy to any gathering, then these French Dip Squares are just what you need! They combine all the delicious elements of the classic French Dip sandwich but in a fun, shareable format. Whether it’s a busy weeknight dinner or a casual family get-together, this recipe is sure to be a hit. The layers of buttery crescent rolls, tender roast beef, and melted cheese create an irresistible combination that will have everyone coming back for seconds.
What makes this dish even more special is how easy it is to prepare. With just a handful of simple ingredients, you can whip up these flavorful squares in no time. Plus, the warm beef broth for dipping adds that extra touch of comfort that makes every bite truly delightful!
Why You’ll Love This Recipe
- Quick and Easy: With minimal prep time, these French Dip Squares come together in a flash—perfect for last-minute meals!
- Family-Friendly: Kids and adults alike will love the gooey cheese and savory flavors wrapped in flaky dough.
- Make Ahead: You can assemble these squares ahead of time and bake them just before serving, making entertaining a breeze.
- Versatile Serving Options: Serve them as an appetizer at parties or as a main dish with sides for family dinners.
- Comforting Flavors: The combination of roast beef, cheese, and dipping broth warms the heart and satisfies cravings.
Ingredients You’ll Need
These French Dip Squares are made with simple, wholesome ingredients that you likely already have at home. Here’s what you’ll need to create this delightful dish:
For the Base
- 2 cans of refrigerated crescent rolls
For the Filling
- 1/2 pound deli-sliced roast beef
- 1 cup grated Swiss cheese
For the Flavor Boost
- 1 packet dry onion soup mix
- 1/4 cup melted butter
- 1 teaspoon Worcestershire sauce
- 1/2 teaspoon garlic powder
For Dipping
- 1 cup beef broth (for dipping)
Variations
This recipe is wonderfully flexible! Feel free to customize it based on your preferences or what you have on hand. Here are some delicious variations to consider:
- Swap the protein: Use turkey or chicken instead of roast beef for a lighter option that still packs flavor.
- Change up the cheese: Try provolone or cheddar cheese if you’re not a fan of Swiss; both melt beautifully!
- Add veggies: Include sautéed mushrooms or peppers for an extra layer of flavor and texture.
- Make it spicy: Add some sliced jalapeños or sprinkle red pepper flakes into the filling for a bit of heat.
How to Make French Dip Squares
Step 1: Preheat Your Oven
Preheat your oven to 375°F (190°C). This step is crucial as it ensures that your French Dip Squares bake evenly and reach that perfect golden brown color.
Step 2: Layer the Base
Roll out one can of crescent rolls in the bottom of your lightly greased 9×13 inch baking dish. Press any seams together to create an even layer. This will serve as a delicious base for all those savory fillings!
Step 3: Add the Filling
Layer your deli-sliced roast beef evenly over the dough. Then sprinkle on your grated Swiss cheese. These layers are where all the magic happens—the comforting flavors meld beautifully as they bake together.
Step 4: Prepare the Sauce
In a small bowl, mix together the dry onion soup mix, melted butter, Worcestershire sauce, and garlic powder. Drizzle this mixture generously over your cheese layer—it adds depth and richness to every bite!
Step 5: Top with Dough
Roll out the second can of crescent rolls and place it over your beef and cheese layers. Pinch any seams together to create a smooth top layer. This seals in all those tasty fillings while baking.
Step 6: Bake
Place your baking dish in the preheated oven and bake for about 15-20 minutes. Keep an eye on them until they turn golden brown and are fully cooked—this is when they really start smelling amazing!
Step 7: Heat the Broth
While your squares are baking away, warm up your beef broth in a small pot over medium heat. This will be perfect for dipping once everything is ready.
Step 8: Cool and Cut
Once baked, let your French Dip Squares cool slightly before cutting them into squares. This helps them hold their shape when serving—no one wants a messy plate!
Step 9: Serve
Serve your delicious squares with warmed beef broth on the side for dipping. Enjoy each bite as you savor this comforting twist on a classic favorite!
Pro Tips for Making French Dip Squares
These French Dip Squares are a breeze to make, but a few simple tips can elevate them from good to great!
-
Use fresh ingredients: Opt for freshly sliced roast beef from the deli rather than pre-packaged. It not only tastes better but also gives a more authentic flavor to your dish.
-
Don’t skip the seasoning: The dry onion soup mix adds a lot of flavor, so make sure it’s evenly distributed. This helps every bite burst with deliciousness.
-
Adjust the cheese: If Swiss cheese isn’t your favorite, feel free to substitute with provolone or mozzarella for a different flavor profile. Just remember that melting qualities may vary!
-
Let them cool: Allowing the squares to cool slightly before cutting makes it easier to get clean slices and keeps the filling from spilling out when you serve them.
-
Experiment with dipping sauces: While beef broth is traditional, you might also try adding a touch of horseradish or mustard to enhance the dipping experience!
How to Serve French Dip Squares
Serving these French Dip Squares can be just as fun as making them! With a few thoughtful touches, you can create an inviting presentation that will impress your guests.
Garnishes
- Chopped parsley: A sprinkle of fresh parsley adds color and freshness, creating an appealing contrast against the golden crust.
- Sliced green onions: These add a nice crunch and mild onion flavor that complements the dish beautifully.
Side Dishes
- Garden Salad: A light garden salad with mixed greens and a zesty vinaigrette provides a refreshing counterbalance to the rich flavors of the squares.
- Roasted Vegetables: Roasted seasonal vegetables like carrots, zucchini, and bell peppers add color and nutrients while being an easy side option.
- Sweet Potato Fries: These crispy, sweet fries bring a delightful contrast in texture and flavor that pairs perfectly with the savory squares.
- Coleslaw: A creamy coleslaw gives a nice crunch and tangy flavor, rounding out the meal while keeping things light and refreshing.
With these tips and serving suggestions in mind, you’ll be well on your way to impressing family and friends with your delicious French Dip Squares! Enjoy every bite!
Make Ahead and Storage
These French Dip Squares are not only delicious but also perfect for meal prep! Making them ahead of time can save you effort during busy weeknights or special gatherings.
Storing Leftovers
- Store any leftovers in an airtight container in the refrigerator for up to 3 days.
- To keep the squares fresh, separate layers with parchment paper if stacking.
Freezing
- Allow the French Dip Squares to cool completely before freezing.
- Wrap individual squares in plastic wrap, then place them in a freezer-safe bag or container.
- They can be frozen for up to 2 months.
Reheating
- For best results, reheat in the oven at 350°F (175°C) for about 10-15 minutes until heated through.
- Alternatively, you can microwave individual squares for 30-45 seconds, but this may result in a softer texture.
FAQs
Here are some common questions about making French Dip Squares.
Can I make French Dip Squares ahead of time?
Yes! You can prepare the filling and assemble the squares a day in advance. Simply cover and refrigerate them until you’re ready to bake.
What do I serve with French Dip Squares?
These French Dip Squares pair wonderfully with a side salad or some roasted vegetables. The warm beef broth is essential for dipping!
How do I store leftover French Dip Squares?
Store any leftovers in an airtight container in the refrigerator for up to 3 days. For longer storage, consider freezing them!
Can I use different cheese for my French Dip Squares?
Absolutely! While Swiss cheese adds a classic flavor, feel free to experiment with provolone or mozzarella for a different taste.
Final Thoughts
I hope you enjoy making these delightful French Dip Squares as much as we do! They’re not just easy to prepare; they’re also packed with comforting flavors that everyone loves. Perfect for sharing at parties or cozy family dinners, this dish truly brings people together. Give them a try, and I’m sure they’ll become a new favorite in your home!
French Dip Squares

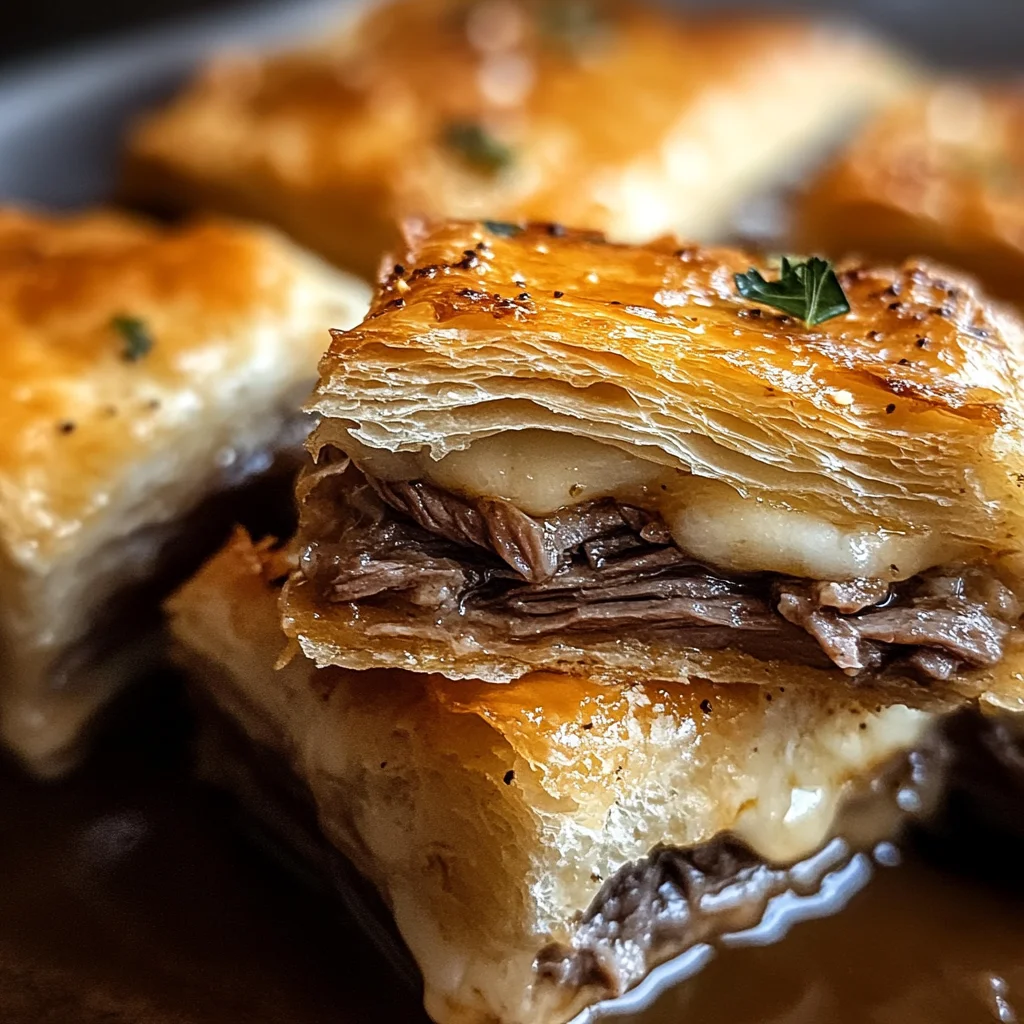
French Dip Squares are a delightful twist on the classic French Dip sandwich, transforming it into a fun, shareable dish perfect for gatherings or family dinners. With buttery crescent rolls enveloping layers of tender roast beef and melted cheese, these squares are both comforting and satisfying. The addition of warm beef broth for dipping elevates each bite, making them an irresistible treat for any occasion. Quick to prepare and customizable with your favorite ingredients, these squares are destined to become a go-to recipe in your home.
- Prep Time: 15 minutes
- Cook Time: 20 minutes
- Total Time: 35 minutes
- Yield: Approximately 8 servings 1x
- Category: Main
- Method: Baking
- Cuisine: American
Ingredients
- 2 cans refrigerated crescent rolls
- 1/2 pound deli-sliced roast beef (or turkey/chicken)
- 1 cup grated Swiss cheese (or provolone/mozzarella)
- 1 packet dry onion soup mix
- 1/4 cup melted butter
- 1 teaspoon Worcestershire sauce (or substitute)
- 1/2 teaspoon garlic powder
- 1 cup beef broth (for dipping)
Instructions
- Preheat your oven to 375°F (190°C).
- Roll out one can of crescent rolls in a greased 9×13 inch baking dish as the base.
- Layer deli-sliced roast beef evenly over the dough, followed by grated cheese.
- In a bowl, mix dry onion soup mix, melted butter, Worcestershire sauce, and garlic powder; drizzle over the cheese layer.
- Top with the second can of crescent rolls, sealing any seams.
- Bake for 15-20 minutes until golden brown.
- Warm beef broth while baking; serve alongside for dipping.
Nutrition
- Serving Size: 1 square (75g)
- Calories: 210
- Sugar: 2g
- Sodium: 560mg
- Fat: 12g
- Saturated Fat: 5g
- Unsaturated Fat: 6g
- Trans Fat: 0g
- Carbohydrates: 14g
- Fiber: 0g
- Protein: 10g
- Cholesterol: 25mg