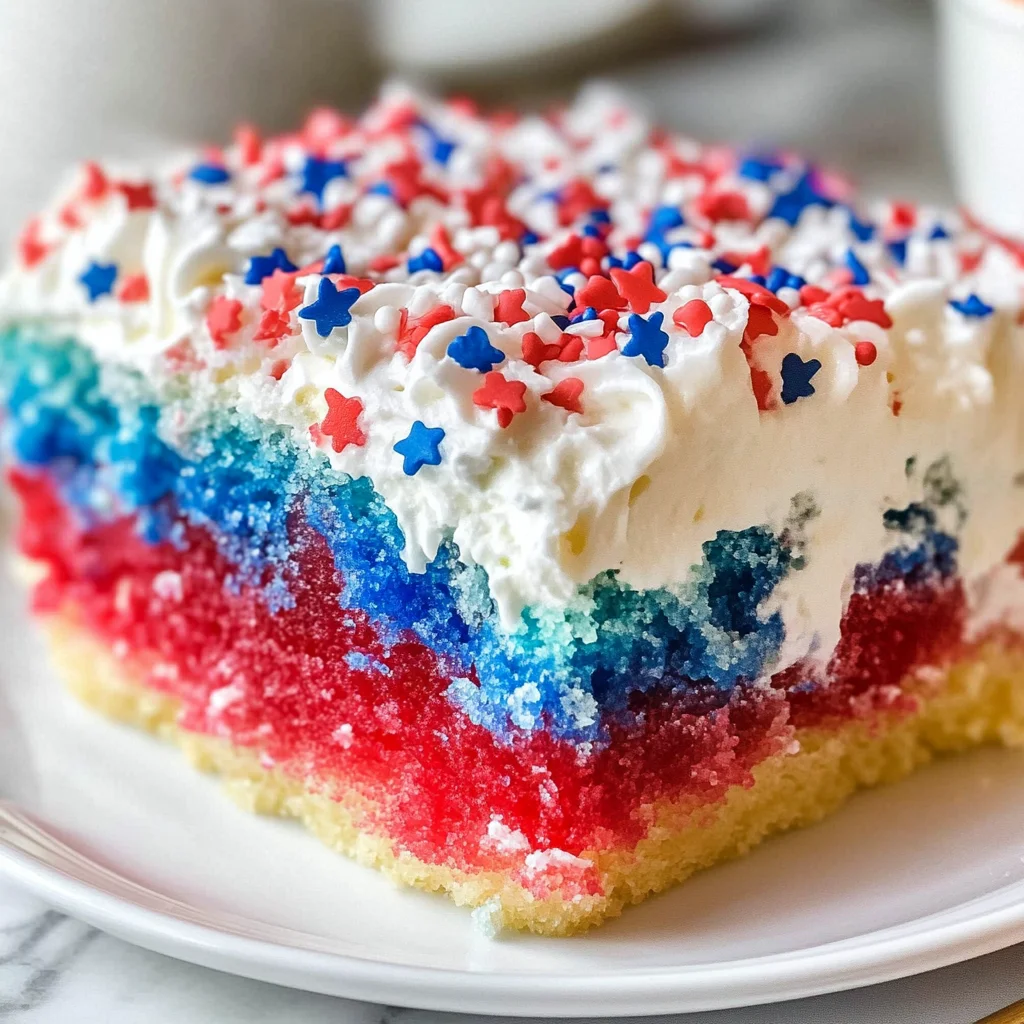
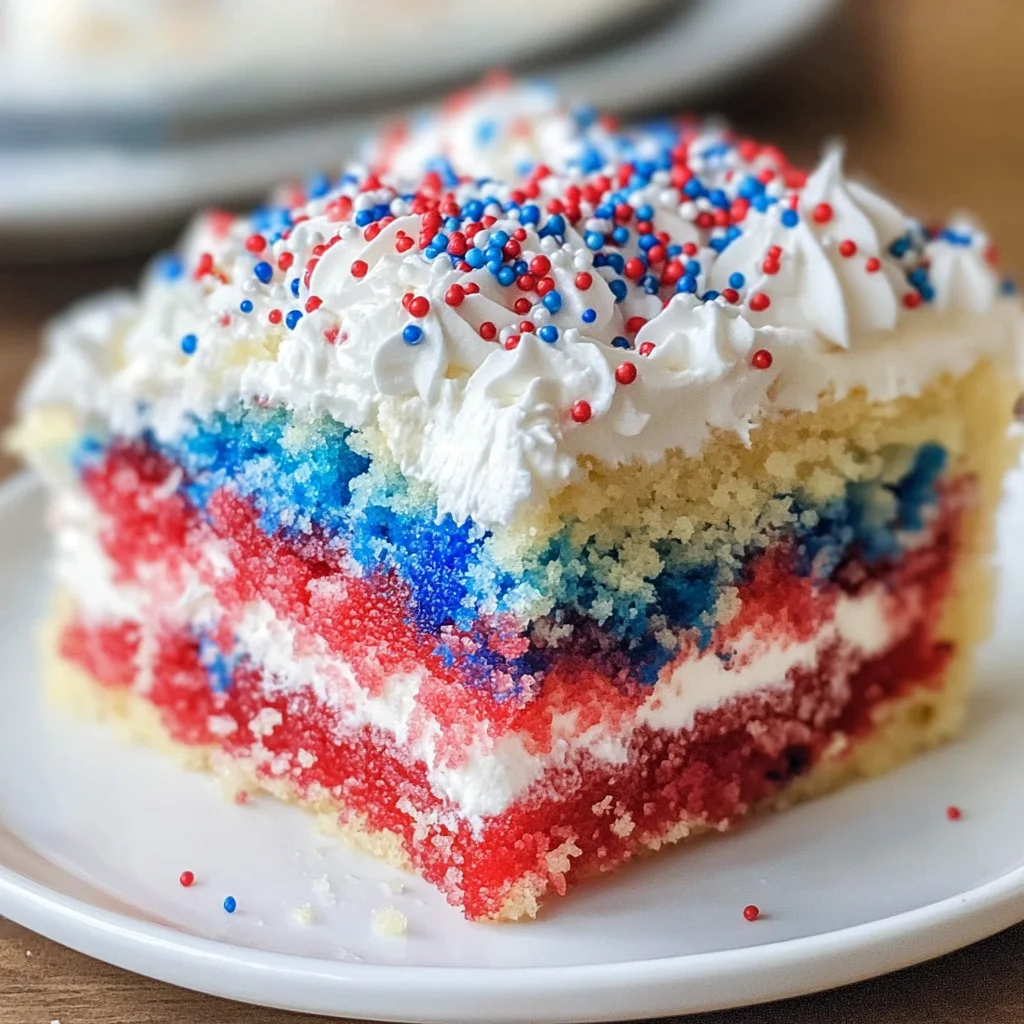
Red, White, & Blue Poke Cake
If you’re looking for a festive dessert that will wow your friends and family, this Red, White, & Blue Poke Cake is just the ticket! This delightful treat is not only visually stunning with its vibrant colors but also incredibly easy to whip up, making it perfect for busy weeknights or lively holiday gatherings. Every bite of this cake brings a burst of sweetness and nostalgia, reminding us of joy-filled summer days spent celebrating with loved ones.
What makes this poke cake truly special is how it captures the spirit of patriotism while being super fun to make! Whether it’s for the 4th of July, Labor Day, or Memorial Day, this cake is bound to become a new favorite at all your summer events.
Why You’ll Love This Recipe
- Super Simple: With just a few ingredients and a box of cake mix, this recipe is beginner-friendly!
- Family-Friendly Fun: Kids love helping out with the colorful jello pouring and poking holes in the cake.
- Make Ahead: You can prepare it ahead of time and let it chill in the fridge until you’re ready to serve.
- Deliciously Moist: The jello infuses the cake with flavor and moisture that everyone will adore.
- Visually Stunning: Its red, white, and blue layers make it an eye-catching centerpiece for any celebration.
Ingredients You’ll Need
Let’s gather some simple and wholesome ingredients to create this delicious dessert. With just a few staples from your pantry, you’ll be on your way to making this festive Red, White, & Blue Poke Cake!
For the Cake
- 1 white cake mix (plus ingredients listed on the box; mine was 1 cup water, ½ cup oil, 3 eggs)
For the Jello
- 1 3 oz package red jello
- 1 3 oz package blue jello
- 2 cups boiling water (divided)
- 1 cup cold water (divided)
For Topping
- 1 8 oz tub whipped topping (thawed)
- ¼ cup powdered sugar
- Sprinkles
Variations
This recipe can easily be tailored to suit your tastes or dietary needs. Here are some fun ideas to customize your Red, White, & Blue Poke Cake:
- Try Different Flavors: Swap out the red and blue jello flavors for strawberry or raspberry for a fruity twist.
- Use Fresh Fruit: Top your cake with fresh strawberries and blueberries for added texture and freshness.
- Add Some Crunch: Sprinkle crushed graham crackers or nuts on top before serving for an extra crunch.
- Make It Gluten-Free: Use gluten-free cake mix to ensure everyone can enjoy this delicious dessert!
How to Make Red, White, & Blue Poke Cake
Step 1: Bake Your Cake
Start by baking your white cake according to the package directions. This part is easy-peasy! Once it’s done baking, let it cool for at least 30 minutes. Cooling is important because it allows the jello to soak in without melting into the warm cake.
Step 2: Poke Holes in Your Cake
Using the end of a wooden spoon, poke holes all over the top of the cooled cake. Be careful not to poke all the way through; aim for about half to three-quarters deep. These little holes are where all that delicious jello will seep in!
Step 3: Prepare Red Jello
In a small bowl or large measuring cup, dissolve your red jello powder in 1 cup of boiling water. Stir until it’s completely dissolved and then mix in ½ cup of cold water. This step helps set up that bright red layer we’ll add later.
Step 4: Prepare Blue Jello
Now repeat the process with blue jello! Dissolve it in another cup of boiling water and add ½ cup cold water once dissolved. Having both colors ready means we can start layering our patriotic masterpiece!
Step 5: Pour Jello into Holes
Carefully pour alternating spoonfuls of red and blue jello into the holes you made earlier. Take your time here! We don’t want any mixing between colors—or we might end up with a purple surprise!
Step 6: Chill Your Cake
Cover your creation and pop it into the fridge for at least two hours. This chilling time allows those jello layers to set perfectly so when you cut into it later… oh boy!
Step 7: Whip Up Some Topping
In a medium bowl, whisk together thawed whipped topping and powdered sugar until smooth. This sweetened topping is going to be deliciously creamy against our fruity jello layers.
Step 8: Frost & Decorate
Spread that fluffy whipped topping evenly over your chilled cake. Finish off with sprinkles—because who doesn’t love sprinkles? Now you have yourself a stunning Red, White, & Blue Poke Cake ready to impress at your next gathering!
Pro Tips for Making Red, White, & Blue Poke Cake
Making a poke cake can be a delightful experience, and with a few helpful tips, you can ensure your cake turns out perfectly every time!
-
Use Room Temperature Ingredients: Make sure your eggs and water are at room temperature before mixing. This will help create a smoother batter and a fluffier cake.
-
Don’t Overmix the Batter: When combining the ingredients from the box mix, mix just until combined. Overmixing can lead to a dense cake instead of the light texture we’re aiming for.
-
Let the Cake Cool Completely: Allowing your cake to cool for at least 30 minutes is crucial. If it’s still warm when you poke holes and add the jello, it may cause the jello to melt and lose its vibrant colors.
-
Alternate Pouring Technique: When adding the red and blue jello, pour them carefully into alternating holes. This helps keep the colors distinct and prevents them from blending into an undesired purple hue.
-
Chill Before Serving: Refrigerating the cake for at least 2 hours (or even overnight) not only enhances the flavors but also allows the jello to set properly, resulting in a more refreshing dessert.
How to Serve Red, White, & Blue Poke Cake
Presenting your Red, White, & Blue Poke Cake in an appealing way can make it even more enjoyable for your guests! Here are some creative ideas on how to serve this festive dessert.
Garnishes
- Fresh Berries: Top each slice with fresh strawberries or blueberries for added color and natural sweetness.
- Mint Leaves: A sprig of fresh mint adds a beautiful touch of green that complements the red and blue while providing a refreshing flavor.
- Whipped Cream: Serve with additional whipped topping on the side so guests can customize their slices as they like!
Side Dishes
- Grilled Corn on the Cob: Sweet corn grilled to perfection brings a smoky flavor that pairs wonderfully with desserts.
- Classic Coleslaw: This crunchy side adds a tangy contrast that helps balance out the sweetness of your poke cake.
- Potato Salad: A creamy potato salad is always a favorite at summer gatherings and offers heartiness alongside your sweet treat.
- Watermelon Slices: Fresh watermelon is hydrating and refreshing, making it an ideal light side dish to accompany your festive dessert.
Enjoy serving up this delicious Red, White, & Blue Poke Cake at your next gathering—it’s sure to be a hit among family and friends!
Make Ahead and Storage
This Red, White, & Blue Poke Cake is not only a showstopper for your festivities but also perfect for meal prep! You can easily make it ahead of time, allowing the flavors to meld beautifully while you focus on other holiday preparations.
Storing Leftovers
- Cover the cake with plastic wrap or aluminum foil to keep it fresh.
- Store it in the refrigerator for up to 3 days.
- Avoid leaving it at room temperature for extended periods to maintain its quality.
Freezing
- Slice the cake into individual servings before freezing for convenience.
- Wrap each slice tightly in plastic wrap, then place them in an airtight container or freezer bag.
- Freeze for up to 2 months. When ready to enjoy, thaw in the refrigerator overnight.
Reheating
- For best results, serve the cake cold or at room temperature.
- If you prefer it warm, place a slice on a microwave-safe plate and heat for 10-15 seconds.
- Be cautious not to overheat as it may affect the texture of the whipped topping.
FAQs
Here are some common questions about making this delightful Red, White, & Blue Poke Cake.
Can I use homemade cake instead of box mix for Red, White, & Blue Poke Cake?
Absolutely! If you prefer a homemade cake, just ensure it’s a white cake recipe that holds up well to poking and soaking in jello. Follow the same instructions after baking.
How long does Red, White, & Blue Poke Cake need to chill?
For best results, refrigerate your cake for at least 2 hours. This chilling time allows the jello to set properly and enhances the flavor!
Can I change the colors used in Red, White, & Blue Poke Cake?
Yes! Feel free to customize your poke cake with any colors of jello you like. It’s a fun way to celebrate different occasions beyond just patriotic holidays!
What can I substitute for whipped topping in this poke cake?
If you’re looking for an alternative to whipped topping, consider using a dairy-free whipped cream or a homemade whipped coconut cream for a lighter option.
Final Thoughts
I hope this Red, White, & Blue Poke Cake brings joy and deliciousness to your celebrations! It’s such a fun and festive dessert that captures the spirit of togetherness. Enjoy making this delightful treat with family and friends—it’s sure to be a hit! Happy baking!
Red, White, & Blue Poke Cake

Celebrate with this festive Red, White, & Blue Poke Cake! Easy to make and perfect for summer gatherings. Try it today!
- Prep Time: 15 minutes
- Cook Time: 30 minutes
- Total Time: 45 minutes
- Yield: Approximately 12 servings 1x
- Category: Dessert
- Method: Baking
- Cuisine: American
Ingredients
- 1 white cake mix (plus ingredients listed on the box)
- 1 package red jello (3 oz)
- 1 package blue jello (3 oz)
- 2 cups boiling water (divided)
- 1 cup cold water (divided)
- 1 tub whipped topping (8 oz, thawed)
- ¼ cup powdered sugar
- Sprinkles for decoration
Instructions
- Preheat oven and bake the white cake according to box directions. Allow cooling for at least 30 minutes.
- Poke holes evenly across the top of the cooled cake using the end of a wooden spoon.
- In separate bowls, dissolve red and blue jello in boiling water, then add cold water to each.
- Carefully pour alternating spoonfuls of red and blue jello into the holes.
- Cover and refrigerate for at least 2 hours until set.
- Whip together thawed whipped topping and powdered sugar until smooth, then frost the chilled cake.
- Finish with sprinkles before serving.
Nutrition
- Serving Size: 1 slice (95g)
- Calories: 210
- Sugar: 25g
- Sodium: 150mg
- Fat: 7g
- Saturated Fat: 2g
- Unsaturated Fat: 4g
- Trans Fat: 0g
- Carbohydrates: 35g
- Fiber: <1g
- Protein: 2g
- Cholesterol: 20mg